

To make personalized bunting you will need:
-Ribbon
-Embroidery floss
-Iron on letters (make sure they are smaller than the width of your ribbon)
-Iron
-Glue (I ended up using hot glue and not the spray adhesive from the photo below)
-Skewers
-Scissors

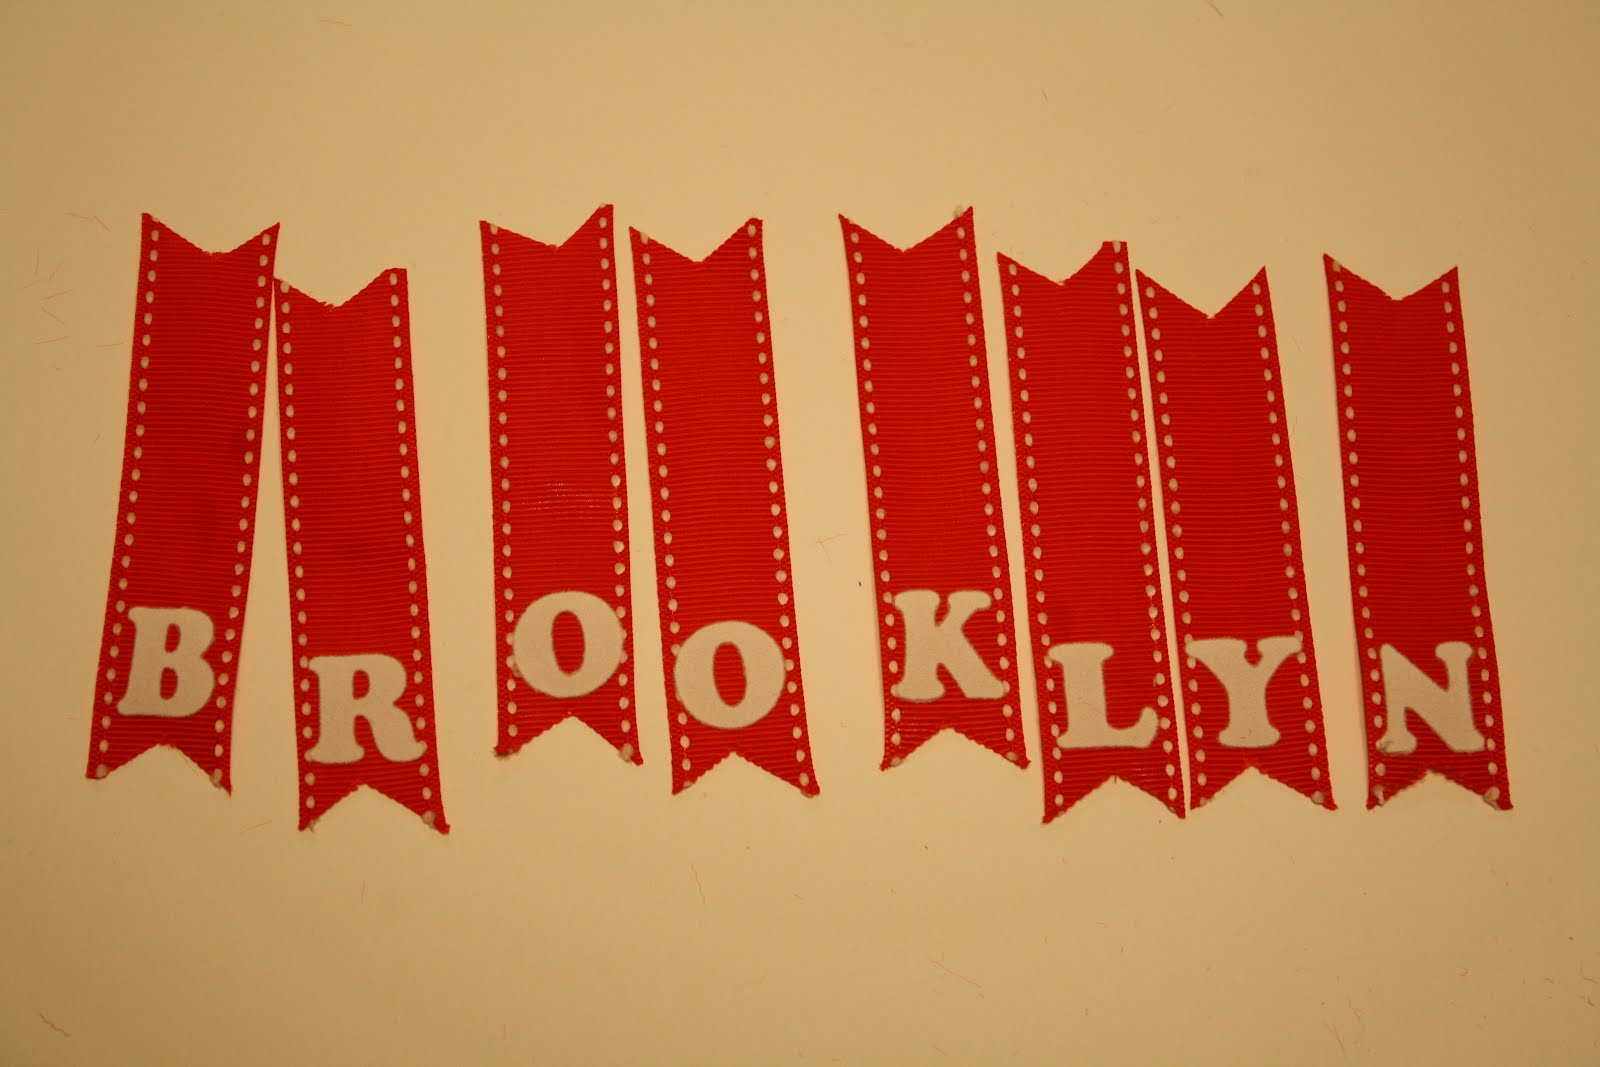
First cut your ribbon into 3-4 inch strips. Fold them in half and trim the ends into your shape of choice.

Following the directions on the package, iron your letters onto the ribbon.
Cut a piece of embroidery floss long enough to accommodate all of your letters with about 3 inches extra on each end. Tie the first end around the skewer.

Attach each ribbon around the floss using the glue to secure the top/ends of the ribbon. Repeat with each letter.

Finally tie the other end of the ribbon to your second skewer.

If you don't want to personalize it, any scrapbook paper or fabric would do the trick.
Okay, time to frost a few cupcakes for a friend's birthday and then it's off to work. Have a great day!


Very cute!!
ReplyDeleteI love this! I'll bookmarking this post so I can make this for my son's birthday next year. Super cute!
ReplyDelete